Every year, the Cradle team gets so called ‘professional development hours‘ that each member can spend on further developing their existing skillsets or trying something completely new.
This year a few team members decided to do an internal game jam, called PD-JAM. Various ideas were pitched but the one that gathered the most attention was making a game for the Gameboy.
But why make a Gameboy game? The Gameboy has a lot of limitations and due to these limitations we needed to keep the scope very small. This also meant that participants could try different disciplines other than the ones they use daily, in our case some programmers worked on the art or audio.
Gameboy Hardware
Before I describe what we made, I wanted to briefly discuss the hardware we had to use since it is an important factor that influenced the design decisions we had to make.
| CPU | RAM | VRAM | Screen Resolution | Colors | Sprites Per Line |
| 1 MHz* 8 bit | 8 KB | 8 KB | 160 x 144 | 4 (shades of gray) | 10 |
As you can see from the table above the Gameboy is not a very powerful device by todays standards however it was very impressive for its release time, 1989.
Gameboy game and code is stored in the ROM chip which is at minimum 32 KB. You can have bigger cartridges, however you will have to use a technique called ROM banking which allows you to swap the second 16kb of that 32kb memory.
We aimed to have our game fit in the smallest possible cartridge, a whooping 32kb without any bank swapping.
Gameboy Development
Gameboy development originally was done in “6502 assembly” however we decided to use the gbdk framework which allows you to develop in C instead. The main reason we did this was that most of the team was already experienced in C/C++ and having to learn both assembly and a Gameboy development quirks would have been too challenging
Gameboy Graphics
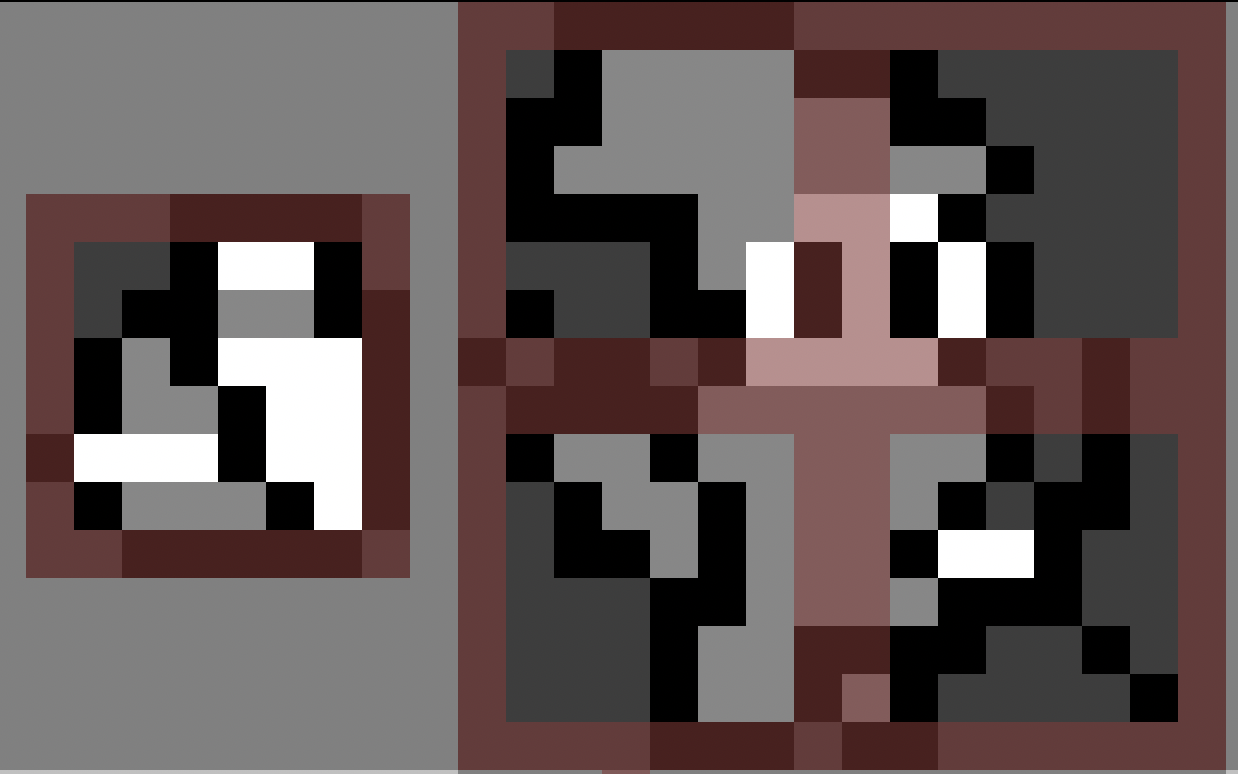
Gameboy graphics is made up of 3 major components, Window, Background and Sprites. All of these components are stored in VRAM (Video Ram). Graphics can be loaded into VRAM as tiles. For the Gameboy tiles are 8×8 pixels.
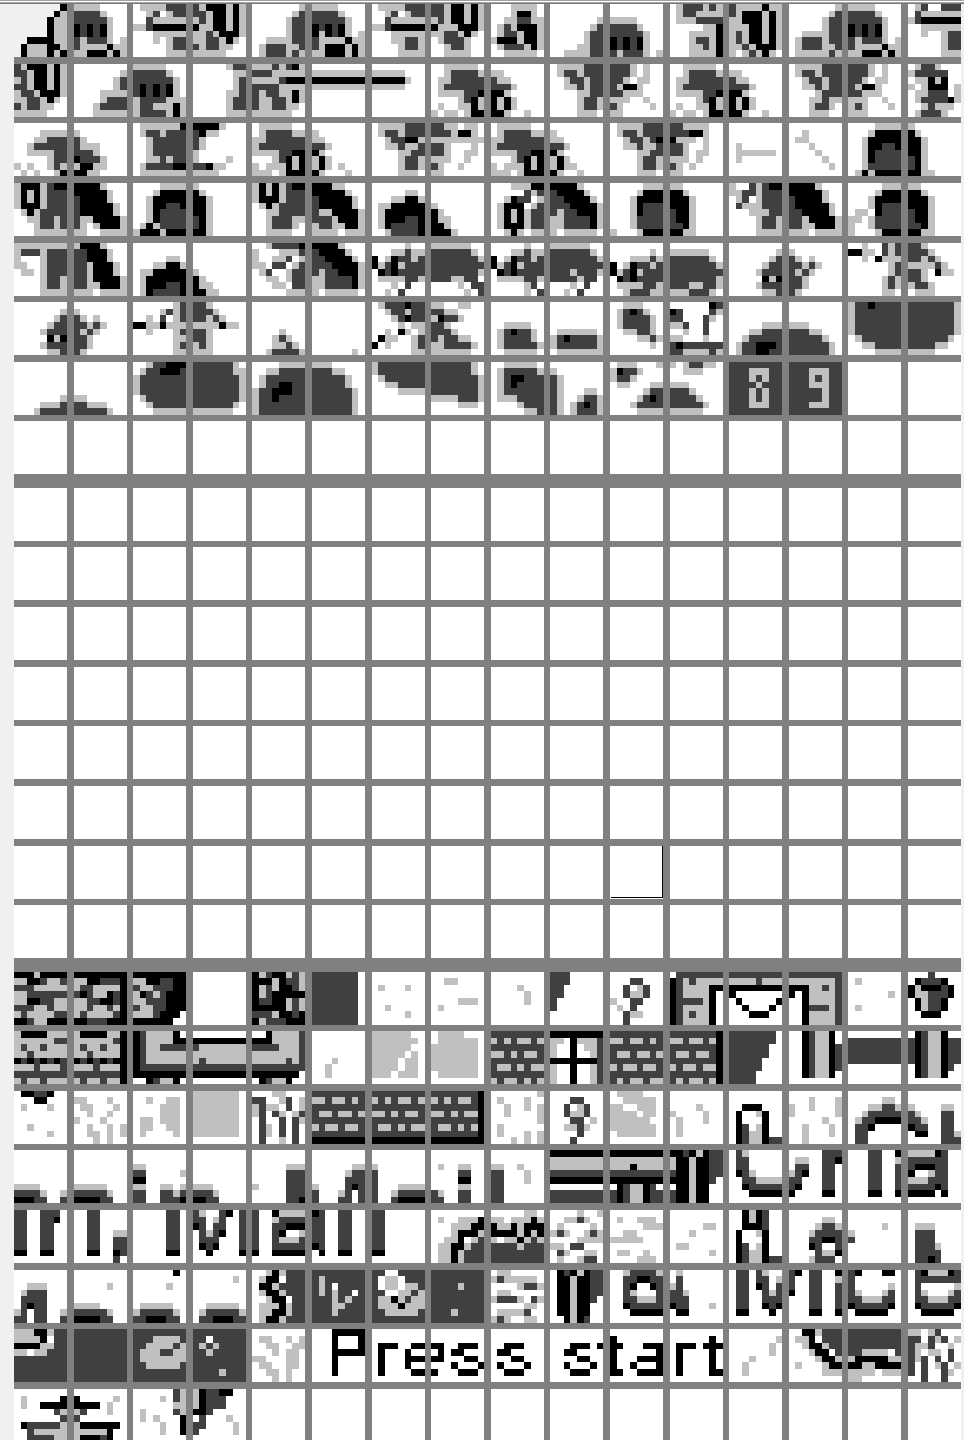
VRAM has 2 separate blocks, one for sprite tiles and another block that is shared between the Window and Background layer. Each layer is 32 tiles wide, and 32 tiles high making their size in pixel 256×256.
Additionally the window and background layer do not support transparency and can be moved/scrolled vertically or horizontally.
Note: The top part are sprite tiles and bottom are window & background tiles. The middle part is shared space between the layers.

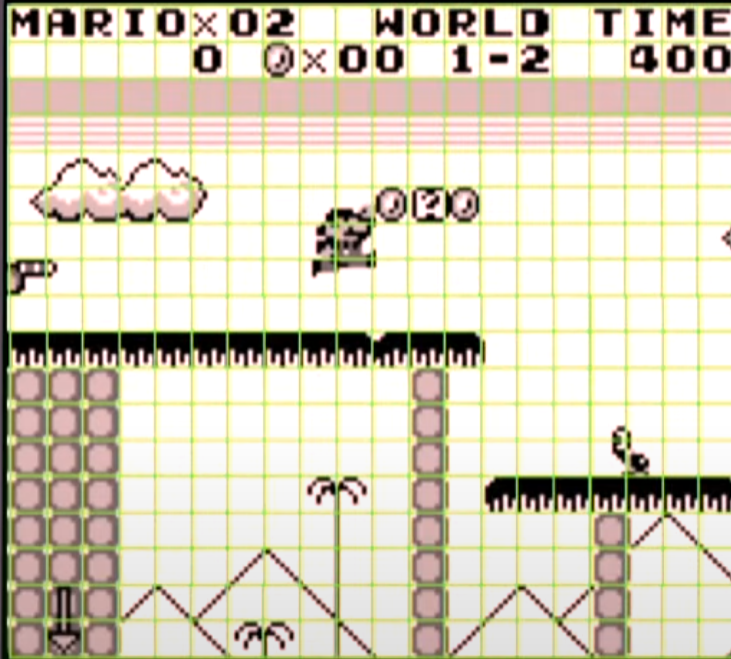
The Gameboy screen is 160px by 144px. The contents of the background and window layer will wrap around when they exceed the 256px mark vertically/horizontally.
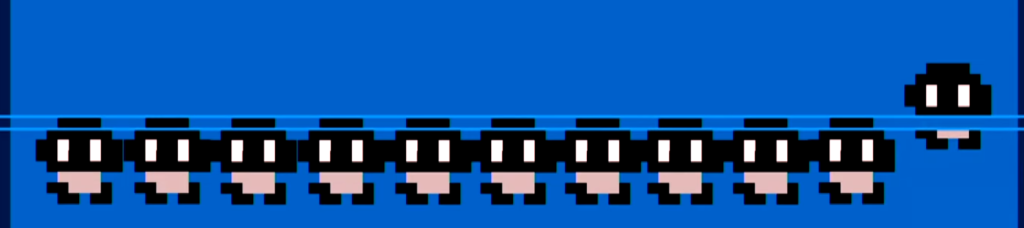
If you have more than 10 sprites in an horizontal like the overlapping pixels with me discarded, shown below.
Game Audio
Audio on the Game Boy differs fundamentally from the sample‑based sound engines used in modern games. Rather than playing back recorded audio clips, the handheld generates sound through four built‑in synthesizers that are controlled directly by writing to hardware registers. Two of these are simple square‑wave generators, a third is a programmable wavetable oscillator capable of richer timbres, and the fourth is a noise channel used for percussion and special‑effect sounds.
Because each sound is produced by configuring registers—setting frequency, volume, envelope, and duty cycle—the composer must work within tight hardware constraints. In our implementation we reserve one square‑wave channel and the wavetable channel for the musical score, while the remaining square‑wave channel and the noise channel handle in‑game sound effects. This register‑driven workflow and limited channel allocation make Game Boy sound design a uniquely challenging but rewarding process.
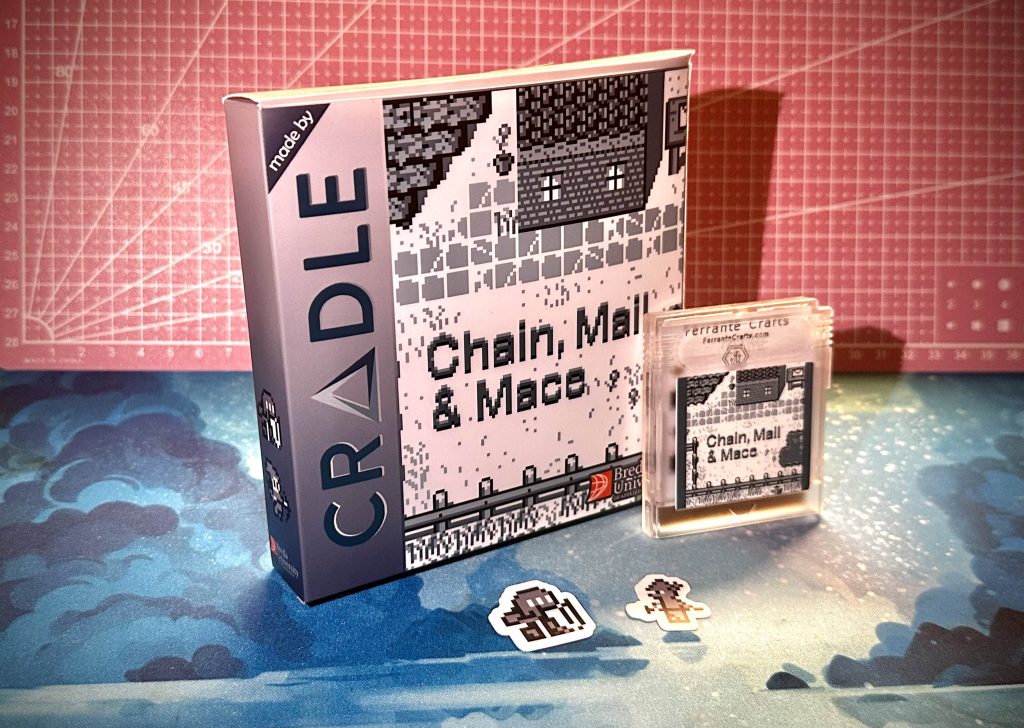
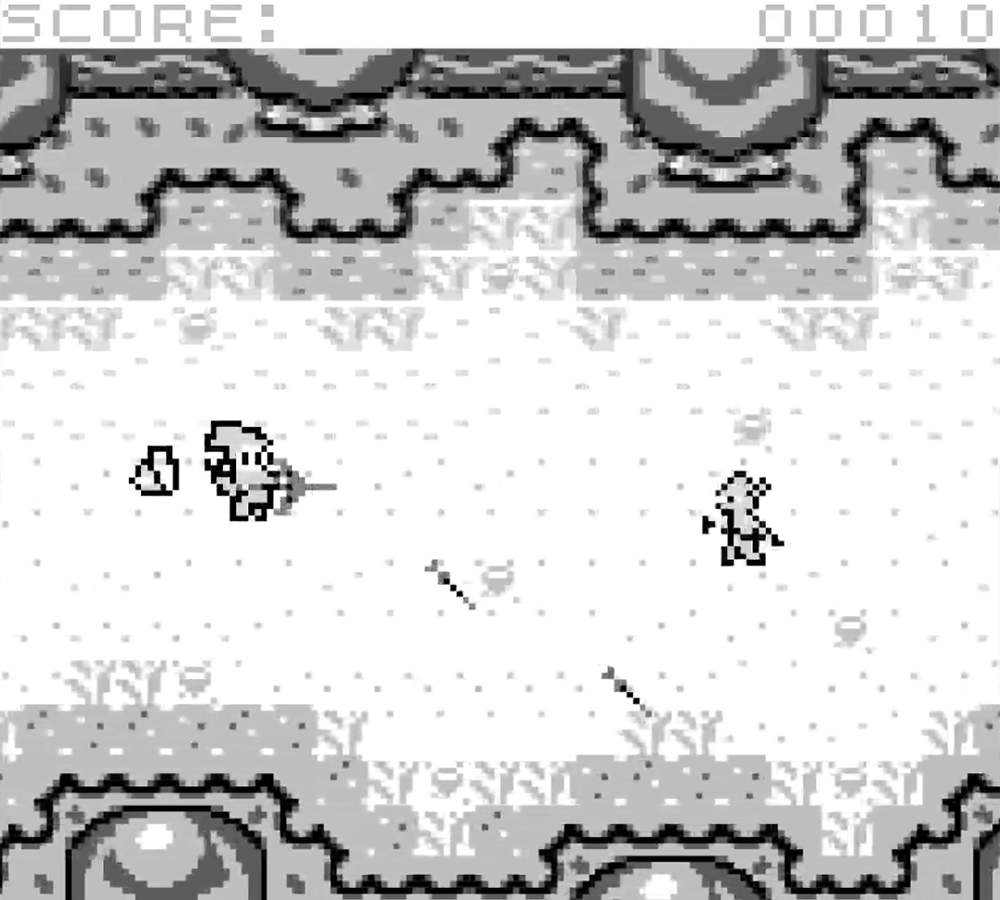
Chain, Mail & Mace
We chose to make an adventure game where you embark on an epic adventure set in medieval times where you must deliver mail to nearby villages. You can swap between 2 characters, a knight and an archer. Both have their strengths and weaknesses. On the way you encounter various enemies who will try to stop you.
The game scrolls endlessly horizontally and you rank up score as you defeat enemies. If an enemy hits you or collides with you it’s game over.
You can attack using the “A” Button. If you are the knight your attack is stabbing with the sword and if you are the archer you shoot an arrow forward or diagonal while also pressing up/down.
With the “B” button you can swap your main character (archer or knight). When you swap you can see the other character available behind you as a smaller tile.
In the final version we also managed to implement 2 different levels, the castle and the forest.
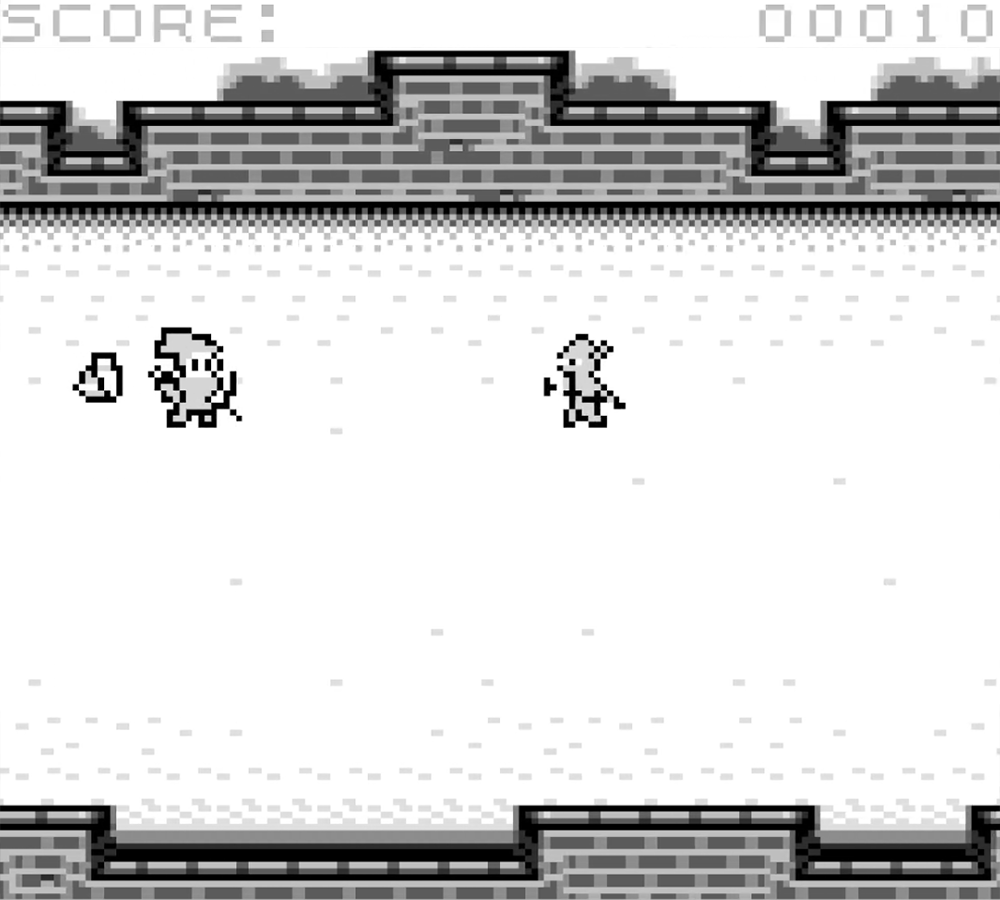
You might have noticed for our game the character is bigger than one tile. He is in fact made up of 5 tiles. In order to have characters bigger than 1 tile (8×8 pixels) we used a method called meta sprites.
For this method each time you move the player you move 5 (8×8 tiles) with it making it look as it is one big sprite. 4 tiles make up the active character and 1 tile in the back is the character that is in reserve.
This meant that for each animation frame we have to update all the tiles manually which was quite cumbersome at first but once we got a workflow it became faster to implement the rest of the animations.
Conclusion
Making a Gameboy game was an amazing learning experience. Its limitations allowed us to get
better at our existing crafts or explore disciplines we had not tried before. Last but not least no Gameboy project would be complete without getting a custom cartridge. We also made a nice box, very similar to the original Gameboy games packaging.